Knowing how to prepare an interior wall for painting can be the difference between a smooth, long-lasting finish and a result that shows every bump, crack, and flaw. A little preparation goes a long way, helping paint stick properly, cover evenly, and look better once the job is complete.

Here’s What You’ll Be Needing Before You Start
Before you begin, gather everything you’ll need so the job can run smoothly from start to finish.
You may need:
- Dust sheets
- Masking tape
- Wall filler
- Filling knife
- Fine-grit sandpaper
- Sugar soap or a suitable wall cleaner
- Sponge or cloth
- Primer
- Paintbrush
- Roller and tray
- Dust mask and protective eyewear for sanding
If your walls are in poor condition, you may also need a paint scraper, stain-blocking primer, or extra filler for larger cracks and holes.
How to Prepare an Interior Wall for Painting
Clear and protect the room
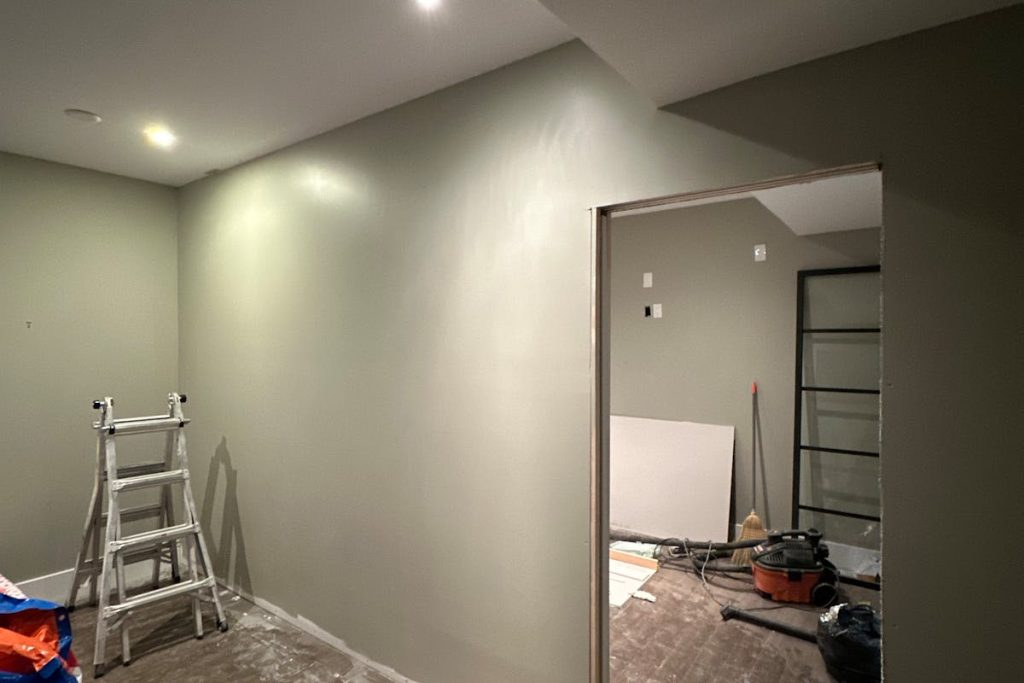
Start by moving furniture away from the walls and covering the floor with dust sheets. If larger pieces can’t be moved out of the room, place them in the centre and cover them properly.
Next, take down pictures, mirrors, curtain poles, and anything else attached to the walls. Where it’s safe to do so, remove sockets and switch faceplates, or carefully mask around them.
Check the wall condition
With the room cleared, take a close look at the wall. Check for cracks, dents, peeling paint, stains, damp patches, old adhesive residue, or any flaking areas.
Different issues require different solutions. Although paint may hide damage temporarily, imperfections often become visible again once everything has dried.
Fill holes and cracks
Once you’ve identified any damage, use a suitable wall filler to repair small holes, dents, and cracks. Apply it with a filling knife, smooth it out as much as possible, and leave it to dry fully before sanding.
If you notice larger cracks, recurring movement, or anything that could indicate a structural issue, it’s best to seek professional advice before decorating.
Sand the surface smooth
After the filler has dried, sand it until it’s level with the surrounding wall. It’s also worth lightly sanding glossy, uneven, or previously repaired areas to improve paint adhesion and create a smoother finish.
Be sure to wear a dust mask and protective eyewear while sanding, especially in older properties or dusty conditions.
For more information on dust safety, see the HSE guidance on construction dust.
Clean the wall properly
Once sanding is complete, remove any dust, grease, and grime that could prevent paint from sticking properly. Wash the wall with sugar soap or a suitable cleaning product, then remove any residue with clean water if the manufacturer recommends it.
Pay extra attention to kitchens, hallways, children’s rooms, and areas around light switches and door frames, as these tend to collect the most dirt and grease.
Let the wall dry fully
Before moving on, make sure the wall is completely dry. This is especially important if you’ve washed it, rinsed it, or carried out repairs with filler.
Painting onto a damp surface can affect adhesion, reduce durability, and leave you with an uneven finish.
Prime where needed
Once the wall is dry, apply primer where necessary. Primer is useful on bare plaster, repaired areas, stains, porous surfaces, and walls undergoing a major colour change. It creates a more even surface and helps the topcoat perform better.
If the wall is already painted and in good condition, you may not need to prime the entire surface. However, spot-priming repaired or troublesome areas is often worthwhile.
Mask edges before painting
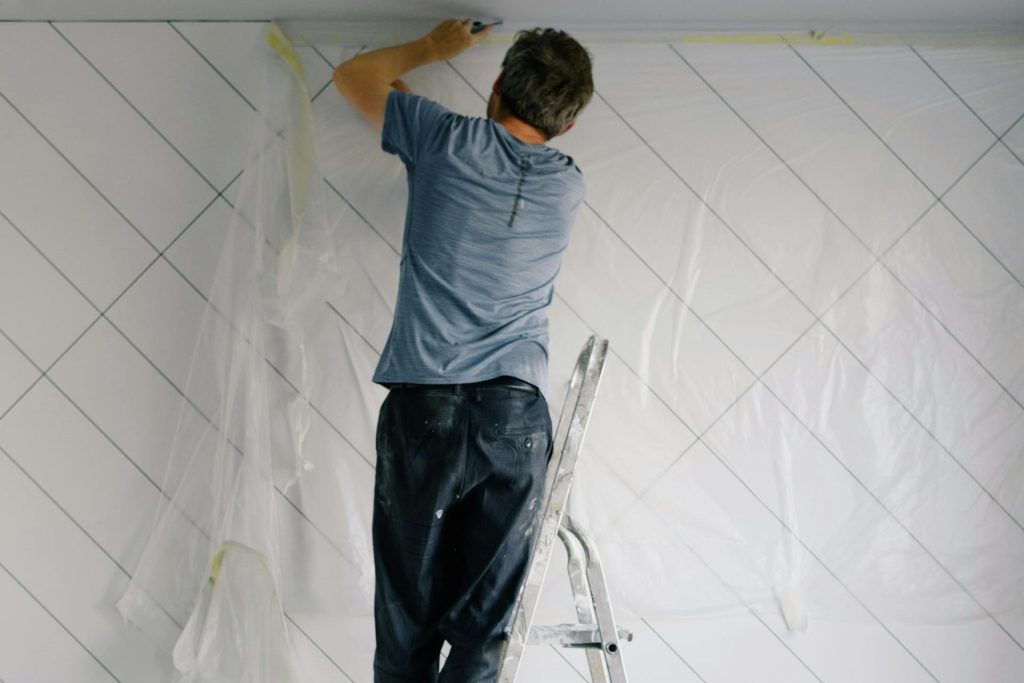
As a final preparation step, apply masking tape around skirting boards, sockets, door frames, window frames, and any other areas you want to keep paint-free. Press it down firmly to reduce the chance of paint creeping underneath.
Taking a few extra minutes to mask properly can give you cleaner lines and save time on touch-ups later.
Interior Wall Painting Tips for a Better Finish
Good preparation isn’t just about fixing obvious damage. Paying attention to smaller details can make a noticeable difference to the finished result.
Avoid painting over dust, grease, or loose paint, as these can lead to poor adhesion, peeling, or an uneven appearance.
It’s also important to give each stage enough time to dry before moving on. Filler, primer, and paint all need time to cure properly before the next coat is applied.
If you’re changing from a dark colour to a much lighter one, using a suitable primer can improve coverage and reduce the number of topcoats required.
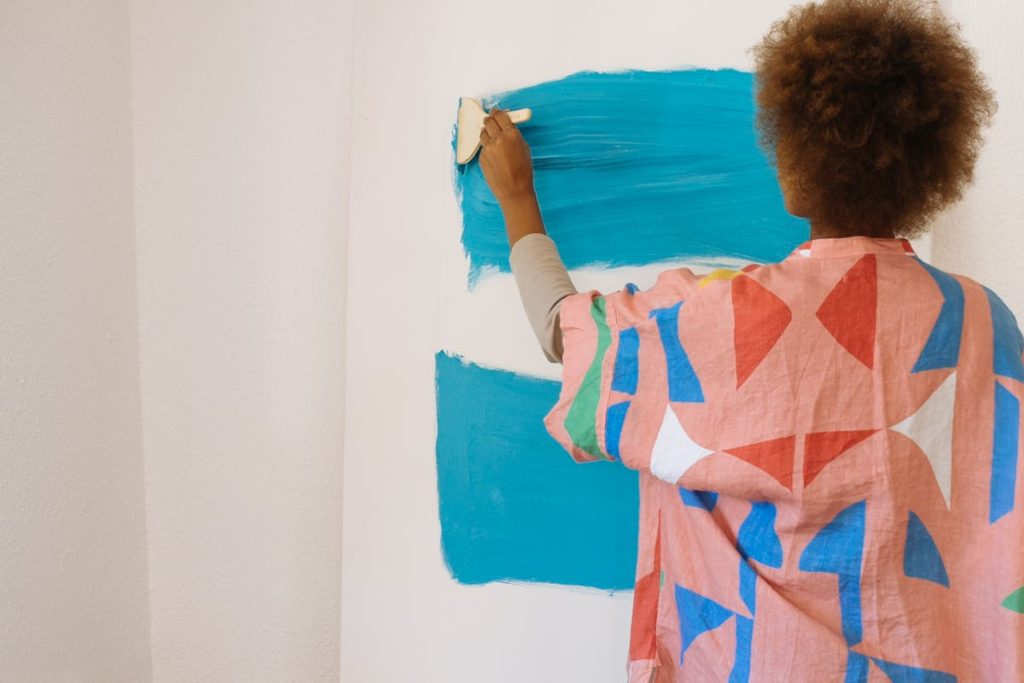
Finally, consider testing paint colours before committing to an entire room. Natural daylight and artificial lighting can make the same colour look very different throughout the day.
What About Newly Plastered or Wallpapered Walls?
Some surfaces require additional preparation before painting. New plaster, for example, needs a little extra attention and must be completely dry before any coating is applied. Depending on the paint manufacturer’s recommendations, this may involve using a mist coat or a dedicated plaster primer.
A mist coat is traditionally made by thinning a water-based emulsion paint with water. It helps seal fresh plaster and creates a suitable surface for later coats. Some modern paint systems recommend specialist plaster primers instead, so always follow the manufacturer’s guidance.
Wallpapered walls also need careful preparation. For the best results, remove the wallpaper completely, clean away any adhesive residue, repair any damage, and sand the surface smooth before painting.
If the wallpaper has been painted over several times, more preparation may be needed. In some cases, a professional decorator can advise whether stripping, repairing, or skimming the wall will give the best result.
When Should You Hire a Professional Painter?
Many wall preparation jobs are well within the capabilities of a confident DIY enthusiast. However, it may be worth bringing in a professional decorator if the walls are badly damaged, uneven, affected by stains or damp, or covered in stubborn wallpaper residue.

Carlo Picasso Decorators can help with wall preparation, interior painting, wallpapering, and decorating projects across Bury, Bolton, and the surrounding areas. We can assess the condition of your walls, recommend the most suitable preparation methods, and deliver a high-quality finish.
We work with a range of budgets and project requirements. Availability varies throughout the year, so it’s always worth getting in touch early to discuss your plans.
Learn more about our interior house painting and decorating services or view our residential gallery to see examples of previous work.
Related Painting Ideas for Your Home
Once your interior walls are properly prepared, it’s a good opportunity to think about the overall look of your home. A fresh coat of paint can brighten a room, make a space feel larger, or draw attention to attractive architectural features.
If you’re planning a wider decorating project, you may also want to explore exterior painting ideas that complement your interior colour choices and help create a more cohesive look throughout your property.
Related Reads:
Need Help Preparing and Painting Your Interior Walls?
If you’d like a smooth, durable finish without the time and effort of doing all the preparation yourself, Carlo Picasso Decorators can help. From repairs and sanding to painting and finishing, we take care of every stage of the process.
Contact us today to get a free quote, or call us on 0161 960 0104 to discuss your project.