Removing dated or damaged wallpaper is the first step toward a fresh, modern room. This how-to guide will show you how to remove wallpaper safely and efficiently so you don’t scar the plasterboard underneath. We’ll cover preparation, the best ways to remove wallpaper (with or without a steamer) and how to handle tricky areas.
Wherever you’re based around Bury or Bolton, these tips will help you achieve a clean surface ready for painting or new paper – and if you’d rather leave it to the pros, Carlo Picasso Decorators can help, with flexible options to suit most budgets and project sizes.
Why Preparation Matters
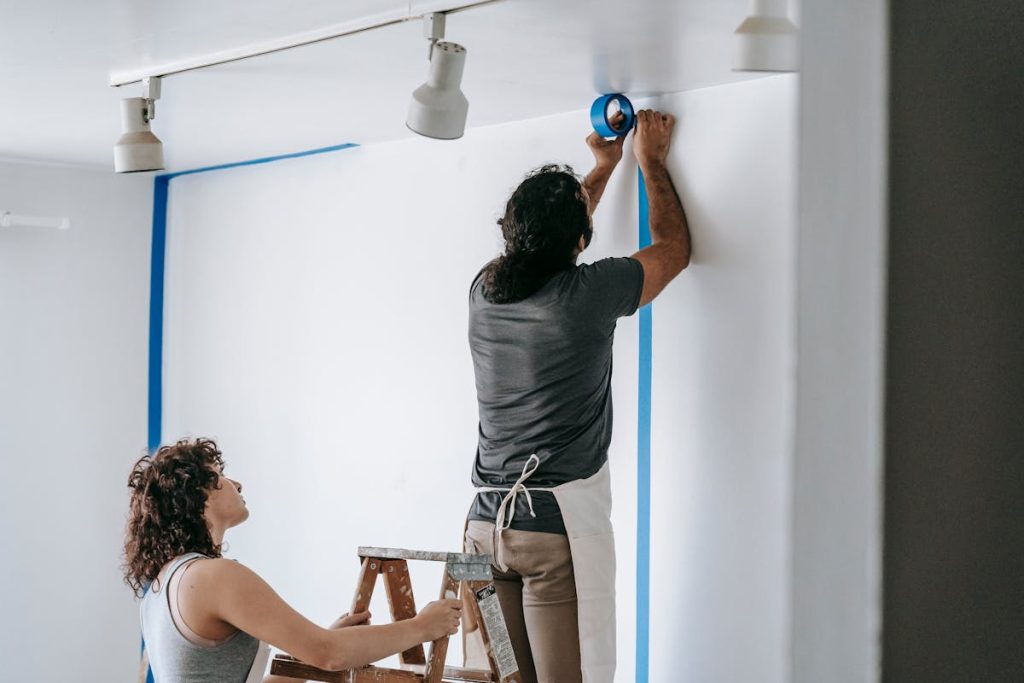
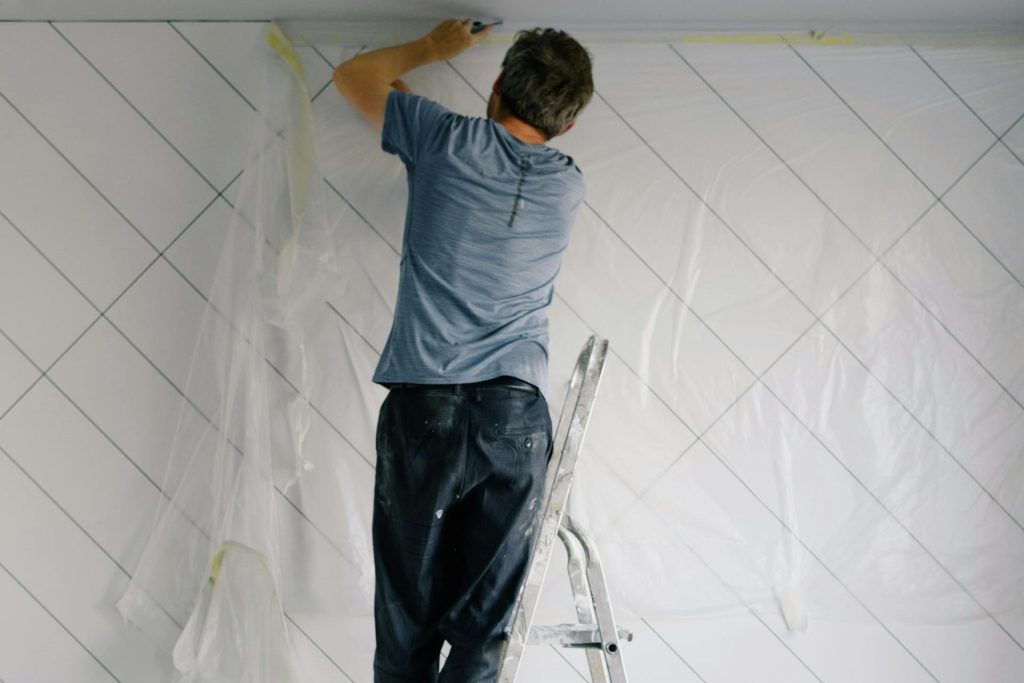
Before you pick up a scraper, take time to prepare. Protecting your floors and fixtures saves hours of cleaning later. You should remove furniture or move it to the centre of the room and cover it with plastic sheeting and drop cloths. Apply painter’s tape around skirting boards, window frames and sockets, and switch off the electricity to the room.
It’s recommended to lay down dust sheets and cover sockets and switches with plastic bags. This simple prep will prevent water or steam from damaging your electrics and flooring.
Essential Tools and Safety Gear
Use the right kit for a safer, quicker job. You will need:
- Dust sheets and plastic sheeting to protect floors and furniture.
- A stepladder for reaching high sections.
- Eye protection and heat-resistant gloves; goggles protect your eyes from falling debris and hot steam.
- Masking tape and plastic bags to seal sockets and switches.
- Stripping knife or scraper and wallpaper scoring tool for loosening paper.
- Bucket or spray bottle, sponge or cloth, and cleaning products for applying solutions and washing walls.
Wear gloves and goggles when using chemical strippers or steamers, keep the room ventilated, and ensure someone is available to hold the ladder when working at height.
3 Steps on How to Remove Wallpaper
Step 1 – Score the Wallpaper
To remove wallpaper cleanly, you need to break the surface so moisture can penetrate. We recommend using a wallpaper scoring tool and moving it across the wall in overlapping circular motions. Apply light pressure to avoid gouging the wall; the rotating spikes will create small perforations. Pay extra attention to edges and corners. Scoring is essential for vinyl or painted papers that aren’t porous.
Step 2 – Choose your Removal Method
There are three main ways to take down wallpaper. The method you choose depends on the size of the project, the type of paper and the tools you have.
Method A: Chemical Stripper (best for small areas)
A chemical stripping solution can lift paper when there are one or two layers. Follow the manufacturer’s instructions, or create your own solution using warm water and washing-up liquid. Here’s how to use a chemical stripper:
- Prepare your solution in a bucket or spray bottle. Ready-made strippers may need diluting, while homemade mixes are simply warm water with a splash of detergent.
- Spray a small section of the wall and let the liquid soak for a few minutes.
- Scrape the wallpaper off with a stripping knife, holding it flat against the wall to avoid gouging. Work methodically around the room, spraying and scraping section by section.
Tip: For stubborn adhesives, repeat the spray-and-scrape process. Keep the knife almost parallel to the wall and let the softened paper peel away to prevent damaging plaster.
Method B: Electric Steam Stripper (best for large areas)
Steamers loosen wallpaper quickly and are ideal for multiple layers. When using a steamer, we suggest filling the tank with water and letting it heat up. Hold the steamer plate against the wall for about 10 seconds until the paper appears damp. Then scrape off the paper while the underlying adhesive is still soft. Re-steam and scrape stubborn patches.
Tip: Always wear heat-resistant gloves and follow the manufacturer’s safety advice.
Method C: DIY Mixtures (budget-friendly)
If you prefer to avoid chemicals, you can use household products. One popular method suggests mixing equal parts fabric softener and hot water, vinegar and hot water, or dish soap and warm water. Spray your chosen mixture onto the scored wallpaper and wait 15-20 minutes. Then scrape off the softened paper.
Note: This method is inexpensive but may leave a lingering scent.
Step 3 – Remove wallpaper adhesive
After the paper is gone, adhesive residue can prevent paint or new wallpaper from sticking. We recommend wiping the walls down with warm water and sugar soap solution. Use a sponge to scrub away glue, and repeat until the walls feel smooth.

For stubborn patches, you may need a surface cleaner or a solvent-based product. We also suggest mixing a small amount of wallpaper stripper solution with warm water and using a scouring sponge to remove residue.
Once the adhesive is removed, dry the wall with a clean cloth and allow it to air dry thoroughly before redecorating. If you plan to paint, let the walls dry for at least 24 hours. Check for any damage or rough spots and repair them before applying primer or new wallpaper.
Tips on How to Handle the Tricky Areas
Behind radiators and in corners
Removing paper behind radiators without dismantling them is awkward. We suggest steaming as much as possible, then saturating the paper with warm water and detergent and scraping with a long-handled tool. You can tape your stripping knife to a stick if you don’t have a specialist tool.
Ceilings and high walls
For ceilings, the removal process is the same as for walls, but a steamer is usually easier and less messy than chemical solutions. Use a stable stepladder and have someone steady it for you.
Textured, woodchip or painted wallpaper
Textured or woodchip wallpaper is thicker and harder to penetrate. We advise perforating the surface with a “hedgehog” or paper-tiger tool before applying steam or stripper. Painted wallpaper may require extra scoring to allow moisture to reach the adhesive. Be patient and allow the solution to work its way through multiple layers.
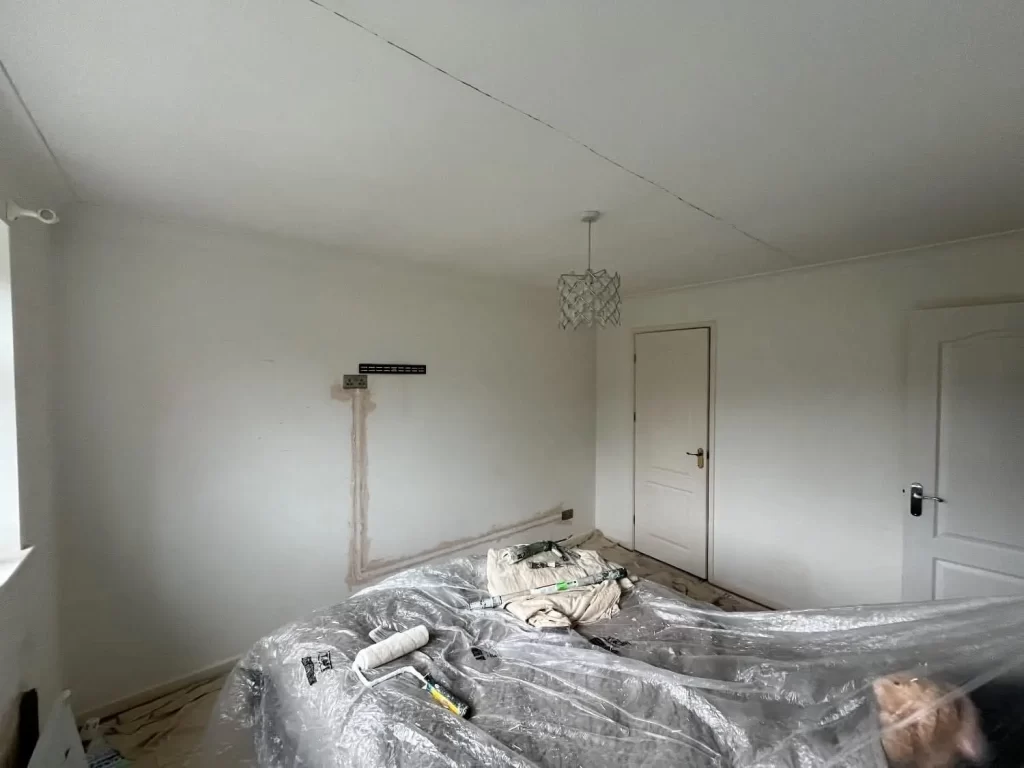
Cleaning Up and Preparing for Decorating
During removal, collect old wallpaper and dispose of it immediately so it doesn’t dry onto the dust sheets. After cleaning and drying the walls, inspect them for mould or mildew.
At Carlo Picasso Decorators, we recommend using a water-bleach solution in kitchens or bathrooms where moisture is common. Sand any rough spots, fill small holes and prime the surface before painting or hanging new wallpaper.
Mistakes You Need to Avoid
- Skipping prep – Failing to protect floors and electrics can lead to costly damage and a messy clean-up.
- Over-scoring – Heavy pressure can gouge plaster; use a light touch and overlap your strokes.
- Letting the stripper dry – Always re-apply solution if the paper doesn’t peel easily. A dry solution can make the adhesive more stubborn.
- Rushing the job – Work in sections and let the solution soak in for the recommended time.
When to Call the Professionals
Removing wallpaper can be time-consuming, and some older adhesives are extremely stubborn. If you’re dealing with multiple layers, textured paper or fragile plaster walls, professional help may save you hours and prevent costly damage.
At Carlo Picasso Decorators, we offer wallpaper removal, painting and decorating services across Bury and Bolton. Our friendly, trained decorators use professional tools and proven techniques on how to remove wallpaper quickly and safely, delivering excellent results at fair, transparent prices.
We handle everything from protective prep to final finishing, leaving your home ready for its next chapter. Due to strong demand, we typically operate a 4–8 week waitlist, so we recommend getting in touch early if you have a specific timescale in mind.
The Bottom Line
Learning how to remove wallpaper the right way will ensure the wall underneath stays smooth and undamaged. Whether you choose a chemical stripper, a steamer or a DIY mix, patience and preparation are key.
Once the paper and adhesive are gone, let the wall dry completely and make any necessary repairs before painting or re-papering.
If stripping wallpaper feels like a daunting task, reach out to Carlo Picasso Decorators. Our experienced team takes care of taking down wallpaper and redecorating so you can enjoy a fresh new look without the mess, along with straightforward advice and no-pressure quotes.