Interior wall painting is more than just applying a fresh coat of paint. It’s a powerful way to redefine a room’s atmosphere. Beyond improving aesthetics, it helps protect walls, cover imperfections, and create a cleaner look. With proper preparation and the right paint, interior wall painting can transform dull surfaces into fresh, polished finishes that enhance your home’s overall appeal and can help support its value.
Can I Paint My Walls Alone?
Painting may appear straightforward, but in practice, it requires skill, preparation, and attention to detail. While it is possible to undertake the task independently, there is a learning curve involved. Without experience, the likelihood of uneven coverage, visible brush marks, or premature wear increases significantly. For this reason, many homeowners choose to engage professional interior house painters. Experienced specialists not only minimise the risk of costly mistakes but also ensure that the work is completed efficiently and to a high standard.
If you’d prefer professional interior wall painting, learn more about us here. With proven expertise and a commitment to precision, we deliver results that elevate both the look and longevity of your walls.
The Types of Paint Used for Interior Walls
Before learning how to paint, it’s essential to understand the different types of paint available for interior walls. The choice of paint affects not only the look of your space but also its durability, ease of maintenance, and suitability for specific rooms.
Selecting the right finish can prevent common issues such as uneven coverage, premature fading, or difficulty in cleaning. Common wall finishes include Contract Matt, Vinyl Matt, Vinyl Silk, Silk, and Durable Matt, while woodwork is typically finished with paints such as High Gloss, Gloss, Satin, Eggshell, or Matt.
Matt/Flat Paint
Matt paint provides a smooth, non-reflective finish that hides wall imperfections effectively. It is often used in areas such as bedrooms or ceilings. However, it is less washable compared to other finishes, thus stains can be harder to remove.
Durable Matt Paint
Durable matt paint offers the same smooth, non-reflective appearance as traditional matt finishes but with improved durability. It is designed to be scrub-resistant, meaning marks and light stains can be cleaned without damaging the paint surface. This makes durable matt a practical choice for living spaces, hallways, and other areas where walls may need occasional washing.
Eggshell Paint
Eggshell offers a subtle sheen and is more durable than flat paint. Its name comes from the idea that the finish resembles the smooth surface of an eggshell. It strikes a balance between aesthetics and practicality, making it suitable for living rooms and dining areas. Its slight gloss makes cleaning easier without being overly shiny.
Satin Paint
Satin finishes have a soft sheen and are known for their durability. They are ideal for hallways, children’s rooms, and other areas that require frequent cleaning. Satin paint resists moisture better than eggshell, making it versatile for many spaces.
Semi-Gloss Paint
Semi-gloss is highly durable and moisture-resistant, which makes it perfect for kitchens, bathrooms, and trim work. It is easier to clean thanks to its resistance to moisture and stains; however, its higher reflectivity can accentuate surface imperfections compared to flatter finishes. Its reflective surface highlights imperfections, so proper wall preparation is crucial.
| TIP: Keep in mind that paint colours can look different depending on your room’s lighting. Natural daylight, warm bulbs, or cool LEDs all shift how a shade appears once it’s on the wall. Testing a small patch first helps you see the true effect before committing to the whole room. |
So, Which Paint Finish is Best for Interior Walls?
The most appropriate paint finish for interior walls depends on the function and conditions of the room. Bedrooms and ceilings often benefit from a matte or flat finish, which provides a soft, non-reflective surface that conceals imperfections. Living rooms and dining areas are better suited to eggshell finishes, while high-traffic spaces such as hallways or children’s rooms can use satin finishes, which resist wear and are easier to clean. Kitchens, bathrooms, and trims often use semi-gloss finishes for their moisture resistance and ease of maintenance.
If you are interested in eco-friendly paint options, you can read our dedicated article on sustainable choices, which explores low-VOC and environmentally responsible alternatives. Ultimately, the “best” finish is determined by the specific requirements of each interior space rather than a one-size-fits-all solution.
How to Prepare Interior Walls for Painting
Once you’ve decided what type of paint to use for your interior wall, preparation is a crucial step that determines the quality and longevity of your paint job. Clean, smooth, and properly primed surfaces allow paint to adhere evenly and resist wear over time. By following a structured preparation process, you can achieve a professional finish and avoid common issues such as peeling or uneven coverage.
- Clear the Room
Begin by removing or covering furniture, wall hangings, and outlet covers. This prevents accidental splatters and gives you unobstructed access to the walls. A clear workspace also makes the painting process more efficient and less stressful. - Clean the Walls
Wash the walls with mild soap or sugar soap and water to remove any dust, grease, and stains. Dirt and residue can prevent paint from adhering, leading to uneven coverage. Allow the walls to dry completely before moving on to the next step. - Repair Imperfections
Fill in any cracks, holes, or dents using filler such as joint compound, spackle, or caulk. Taking the time to repair these imperfections now ensures they won’t show through once the paint is applied. - Sand the Surface
Gently but thoroughly sand the entire wall to create a uniform texture and improve paint adhesion. This step also helps remove any glossy areas from previous finishes. After sanding, wipe away dust with a damp cloth to keep the surface clean, and wait for it to dry again. - Tape and Protect
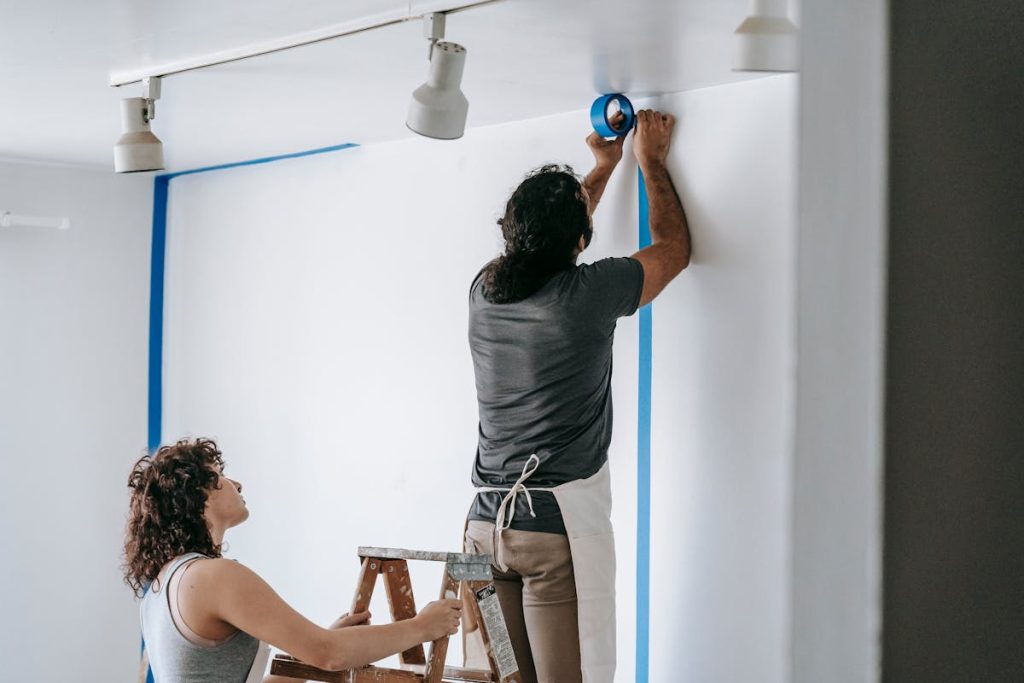
Apply painter’s tape along trim, windows, and edges to achieve crisp lines and cover your floors with drop cloths to protect against drips and spills. Taking time to protect surfaces saves cleanup effort later. - Prime the Walls
Priming seals the surface, enhances colour accuracy, and improves durability. Most interior paints you’ll find today are water‑based (often labelled as “latex” or “acrylic” on the can). For those, a standard water-based primer works well. If you’re repainting a wall that was previously finished with oil‑based paint and want to switch to a modern water‑based option, it’s important to use the right primer first. For a full guide, check out this article. Speciality primers are useful for glossy surfaces or rooms with high moisture, like bathrooms. Choosing the right primer makes a big difference in how smoothly your paint goes on and how long it lasts.
TIP: If you’re planning to use a darker paint colour, consider a tinted primer. It’s designed to match or complement your chosen shade, which helps achieve full coverage more quickly and often reduces the number of coats you’ll need. - Final Inspection before Painting
Walk through the room you’ve prepared for interior wall painting and check for missed spots, rough patches, or tape that needs adjustment. Addressing these details before painting prevents interruptions once you begin. - Start Painting Your Walls
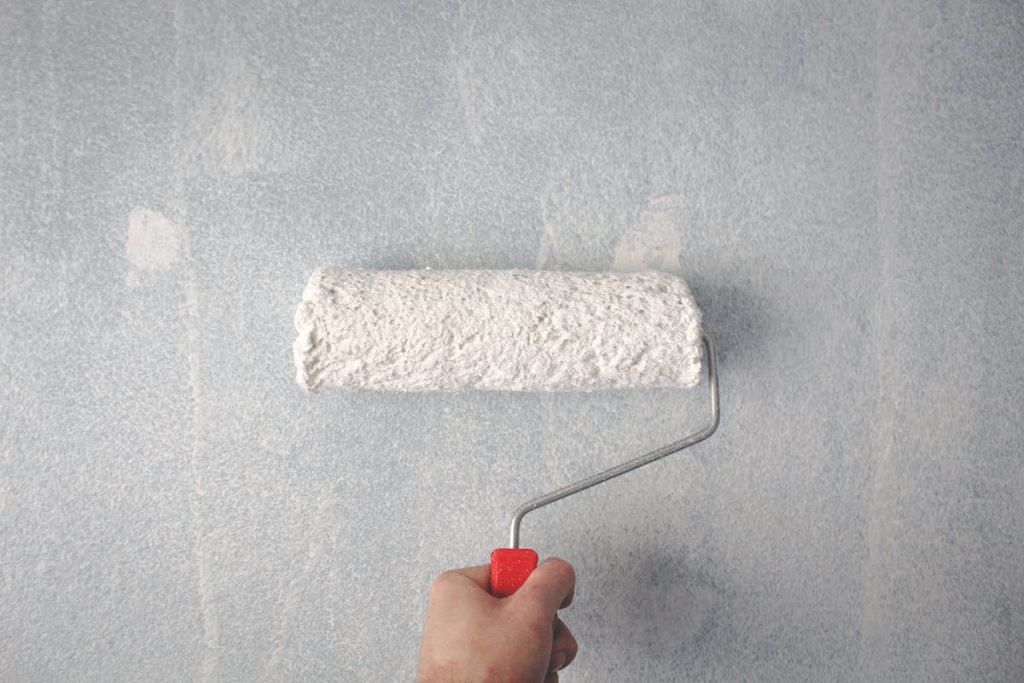
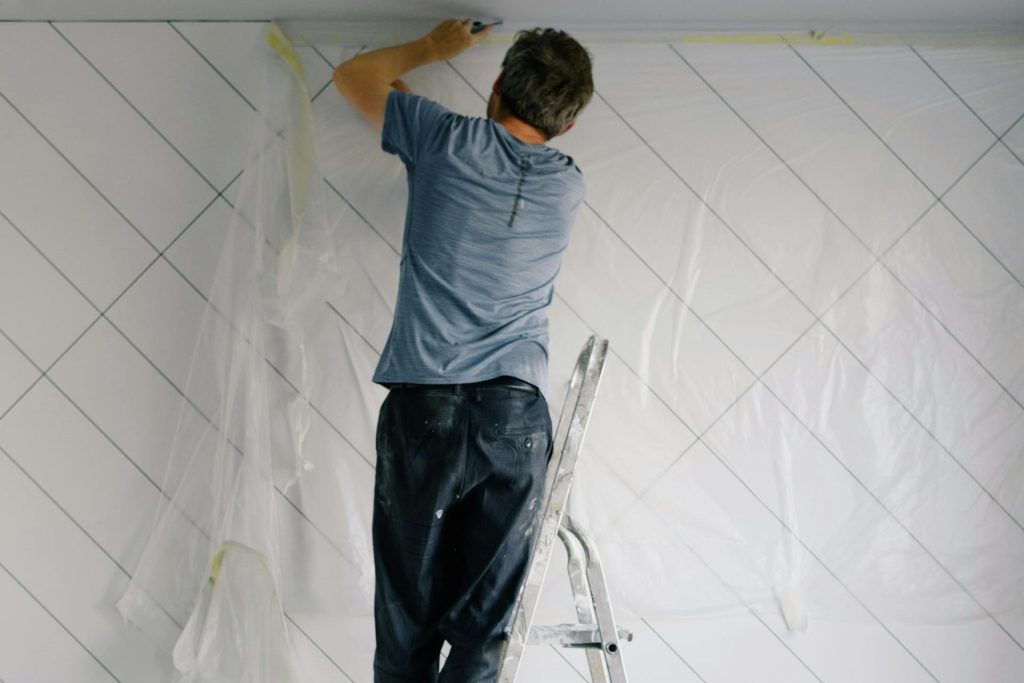
Begin painting at the top of the wall and work your way down, using smooth, overlapping strokes. For best results, cut in around edges and corners with a brush before filling in larger areas with a roller. Working in sections and maintaining a consistent direction helps achieve an even, professional finish.
After painting, you might wonder how often to repaint and what factors influence how long your interior walls stay fresh. For practical advice on timing and upkeep, check out this guide on our News page.